I had been wanting an overhang to protect my entry door and people from the weather as they enter the house for many years. A couple years ago we were able to make it a reality. I’m so glad that we did! It has added not only practicality to our home, but also some depth and style. Since this project was done a while ago, I went on Home Depot’s website to check prices and this project can still be done for very little cost, under $500. We began the project by cutting the siding where we were going to add the three pressure treated support boards. After my husband cut the siding with an oscillating saw I stained the boards black. I chose black to match our aluminum fencing. If I could go back in time, I would have stained the pressure treated boards before we put them up. It was a little more difficult to stain them while in place and some stain got on the siding. At the time we thought that we would reside the house so it didn’t really matter. We never got to that project, oops. Then we used lag bolts to attach the boards to our home’s frame. We used the nails already in the sheathing of the house as our guide for where to put the lag bolts.

The photo above shows one board stained.

We made all of our triangle supports and stained them ahead of attaching them to the main support boards. We created the pitch fairly steep to shed the snow off since our home is in Maine. You can make the pitch align with your weather and needs.


Once the stain was dry we attached our triangle supports to the main supports with long lag screws and finished off the two end triangle supports with corner brackets for added support. We predrilled the holes for the screws so that the pressure treated 2x4s wouldn’t split. We capped the front of all of the triangle supports with a stained pressure treated 2x4 to create stability and uniformity.


We then cut the strapping, stained, and attached them to the tops of triangle supports. Next, we added corner flashing by tucking it under the house siding and laying the other end over the structure. We attached metal roofing sheets on top of the strapping and under the flashing. Lastly we added J channel around the whole structure where it met the house siding. This project was a fairly easy project that is worth the efforts for the benefits it provides.
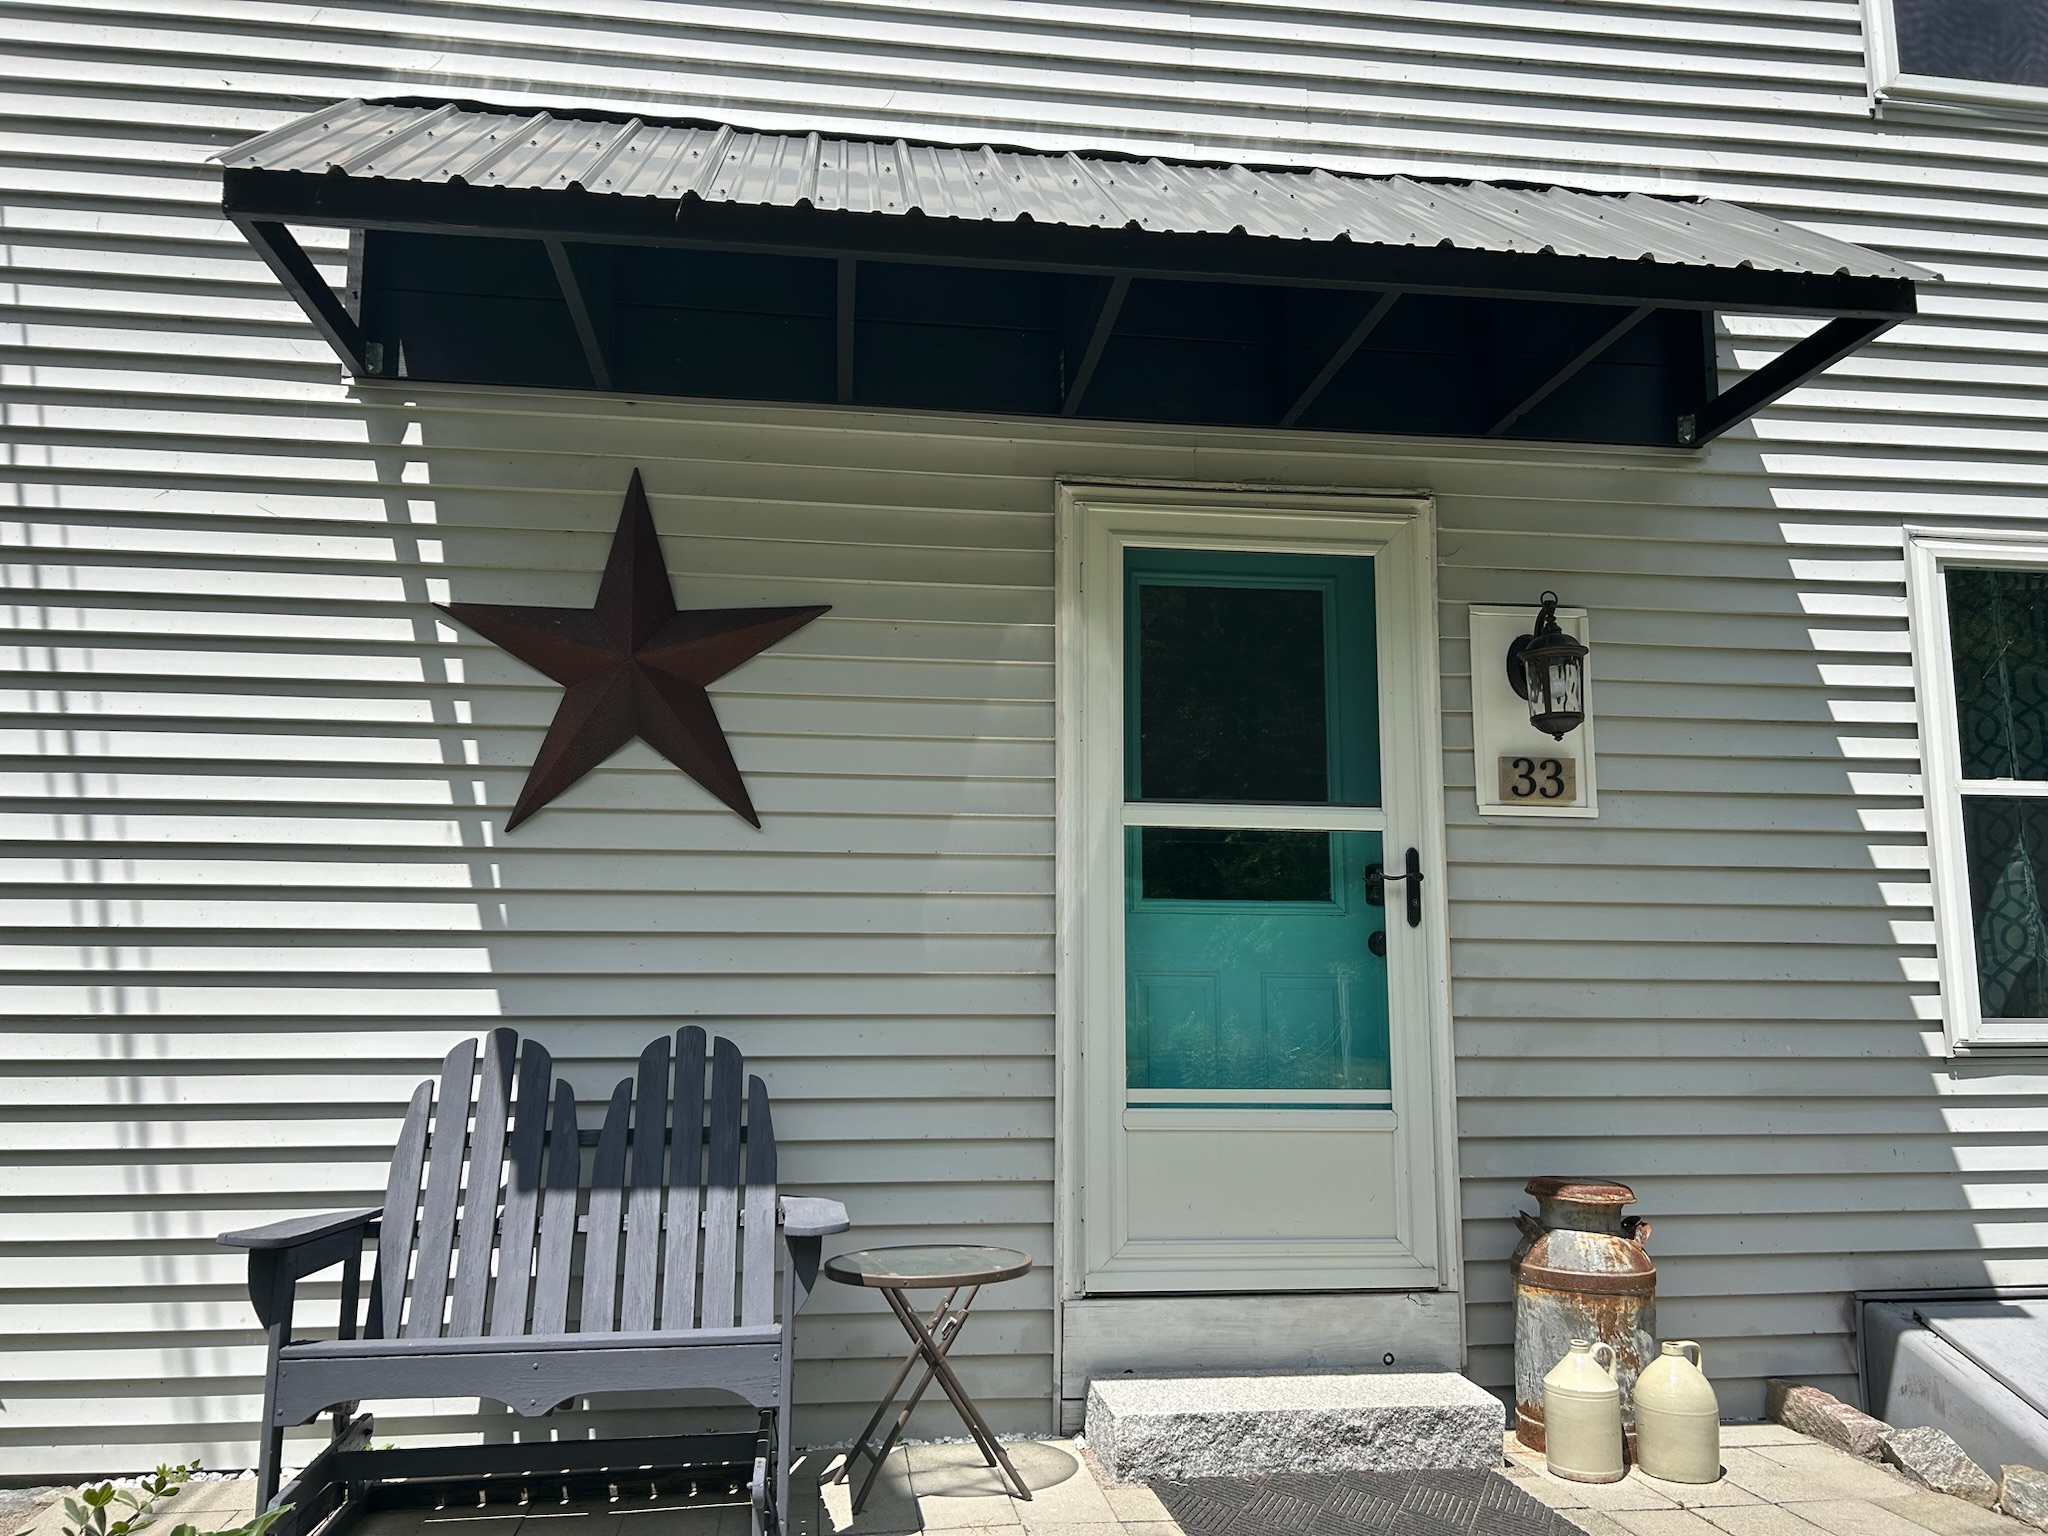
After two years it still looks just as good as it did when we built the overhang!