Thursday, May 19, 2016

Building a Room in the Basement for Under $1K; Part 2

It is so rewarding to have a project finished! Below is the photo journal describing how we finished the closet in the basement bonus room plus all of the finishing touches. If you did not get the chance to read Part 1 of Building a Room in the Basement, click here.

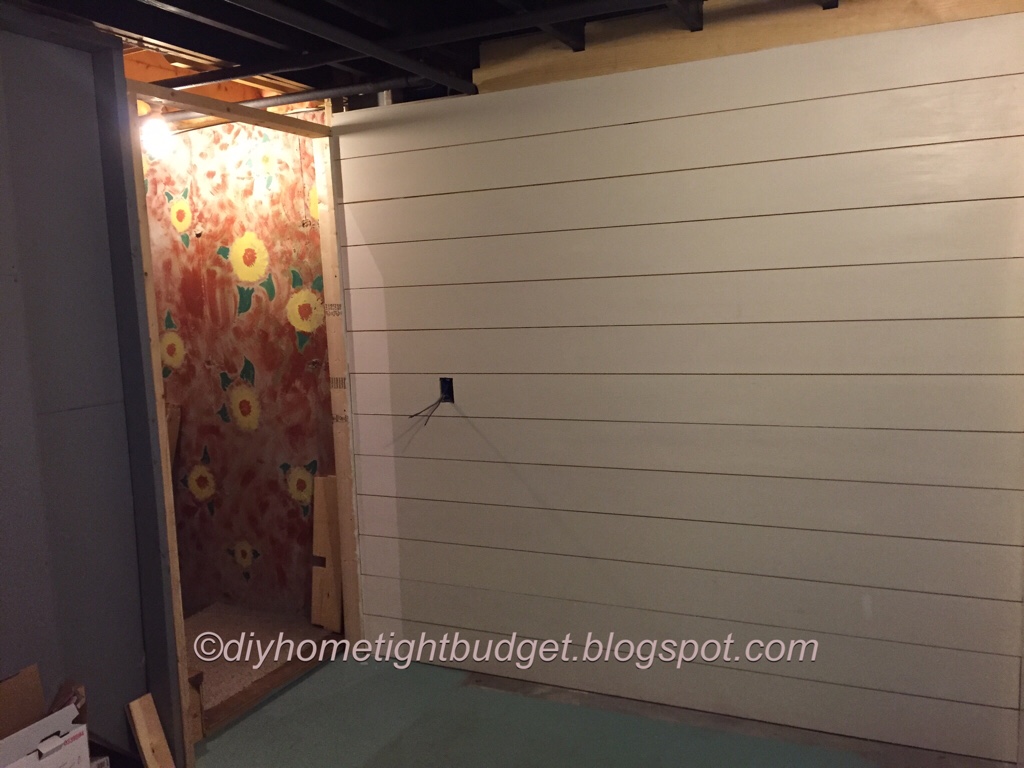
We added sheetrock plus mud and taped the seams to close in the wall next to the stairs.

Believe it or not the space underneath the stairs will become a nice closet...
After I sanded the joint compound, I primed the wall.

We then trimmed the doorway with pine boards that I would later prime and paint. I usually prime lumber before we put it up using a primer that seals the knots from bleeding. However, since the adjoining walls are white as well, I didn't bother this time.

I also trimmed out the window. In this case I should of primed and painted first, but I wasn't in the mood for painting. So I had to be more careful when I did paint the trim around this window.

Since there was a 2x4 going across the stair supports we decided to elevate the floor in the closet. A frame made with 2x4s was placed on the floor. Then when my husband attached the plywood he was able to attach it to the 2x4s that were drilled into the concrete. We then insulated the closet walls and put up sheet rock.

Next came the flooring. Each stick on square was only 25¢ at Marden's. We figured it wasn't a huge investment so we could change our mind any time.

I primed and painted the walls and then started laying down the tiles. They were quite easy to cut and shape for a space that was not very square.


I carefully primed and painted the window trim.
We purchased a wall heater on-line from Home Depot. This item is not sold at our local Home Depot. It heats a room without drying it out, however you do have to turn it off when the room reaches the desired temperature.

After all of the messy work was done, I was able to put the final coat of paint on the floor. I used paint that is made for cement floors. 

After all of the painting was done it was time for us to attach the baseboard trim. We purchased waterproof trim just in case the floor was to ever get wet in the basement.

We used liquid nails along with the self stick backing that is part of this baseboard trim to attach the trim to the walls. So far it has remained attached well to all of the walls.

We built a sliding barn door just like the ones that we built for our camp. This is our third door so far and it gets easier with each one that we make. For more information on building your own barn door visit my article, Sliding Barn Doors Rock!


The home stretch! We trimmed out the closet and added shelving.

This is what the room looks like now from the outside.


Monday, May 9, 2016

A Dresser Becomes a Kitchen Island for Under $25

If you know someone getting rid of an old dresser, you are in luck. You can turn something that is falling apart into a useful addition to your kitchen. We got an old dresser from my husband's grandfather. The supports for a couple of the drawers were missing, but other than that the rest of it was in fairly good condition.

I forgot to take a picture of the dresser before my husband cut it and I primed it. Hopefully this picture will help a little. The top portion is what it looked like before we started. There is a drawer off to the side because it no longer fits after I added support for the new top. 


The back of the dresser turned kitchen island.
After my husband cut the top off I used a primer that allows for us lazy folks to not have to do any sanding to remove the previous finish. The kind I use is Zinsser BIN. It is a little more expensive, but well worth the time saved. This was also the only expensive part of the project and I already had this primer around because I use it also to prime pine boards so that the knots do not bleed through the paint.


Once the dresser was primed, I added 1x3 support pine around the entire top of the dresser. This is in preparation to support the boards that will be the counter surface of the island.


I painted the island with old paint I had lying around and added hooks to hold towels or other kitchen utensils.

I also added wheels to the bottom that I purchased from Harbor Freight for a very good price.


I used 1x12 pine boards for the top. I sanded and stained the top with a Minwax blend of Early American and Ebony. I attached the top using L brackets and Liquid Nails.


The black paint on the island is chalkboard paint so that we can leave messages or children that visit can use it.


Monday, March 14, 2016

Building a Room in the Basement for Under $1K; Part 1

When our son returns home this summer during college break, his girlfriend will be living with us. During Christmas break my daughter shared her room, but we wanted to give our son's girlfriend her own space for the summer so we decided to create a room in our unfinished basement. Adding two doors and a window added to the cost. If you are able to build your space on a wall that has an exterior window and only needs one door, you will save money. (Disclaimer - This space is not officially a bedroom according to code. We call it a bonus room that will occasionally be used for sleeping.)

There are some things that need to be considered when finishing a room in a basement. If not done correctly, mold will ruin any space built in a basement. Below is a photo journal of the journey my husband and I took to create an inviting space.

This is what we started with... a cluttered unfinished basement. At the time this photo was taken my husband and I were sorting through what we would donate to Good Will, what we would sell, and what we wanted to keep. It felt good to get rid of stuff that we no longer needed.

The first step is to prep the cement walls. In our case, we did not have any leaks in our cement walls. If you do, you will want to fill in cracks properly first. I painted the cement wall with two coats of waterproofing paint. Many people use Drylock, but the night we bought supplies to begin the project we closed down Lowe's and didn't remember the paint until we were in the check out line. Luckily our local Walmart is open later so we ran over there to grab some paint. By the way, this was the first of four times closing down Lowe's during Christmas Break. I don't know why, but we often end up doing our shopping late in the evening.


Another angle of what we started with.

And yet another.

Building our first wall. Because walls in basements are not load bearing, they do not need to fit tightly under the joists. We framed the wall first so that the we could put the nails through the top and bottom 2x4. Much easier than toenailing a stud. The far right stud had to be toenailed in so that we could get the wall up past the post. Make sure to use pressure treated wood for any part of the structure that is going to come into contact with the concrete.

Two walls up and we are starting to get a better sense of what the space will look like.

Framing a door. We ended up purchasing a door that was completely encased with molding. We figured this would save us some time even though it was a bit more expensive. $80 for the easy to install door. We will be building a barn door for the entry near the stairs.

We put up the sheetrock and then cut out the space where the door will go.

One wall with sheetrock and one coat of joint compound.

We started insulating the wall only halfway up because we was not sure where the electrician would need to run the wires for the light switch. In this photo you can also see the door that we purchased to give us access to the electrical box. Plus behind the stud wall we put up foam insulation. One more layer to keep moisture away from the wood, batted insulation, and sheet rock.

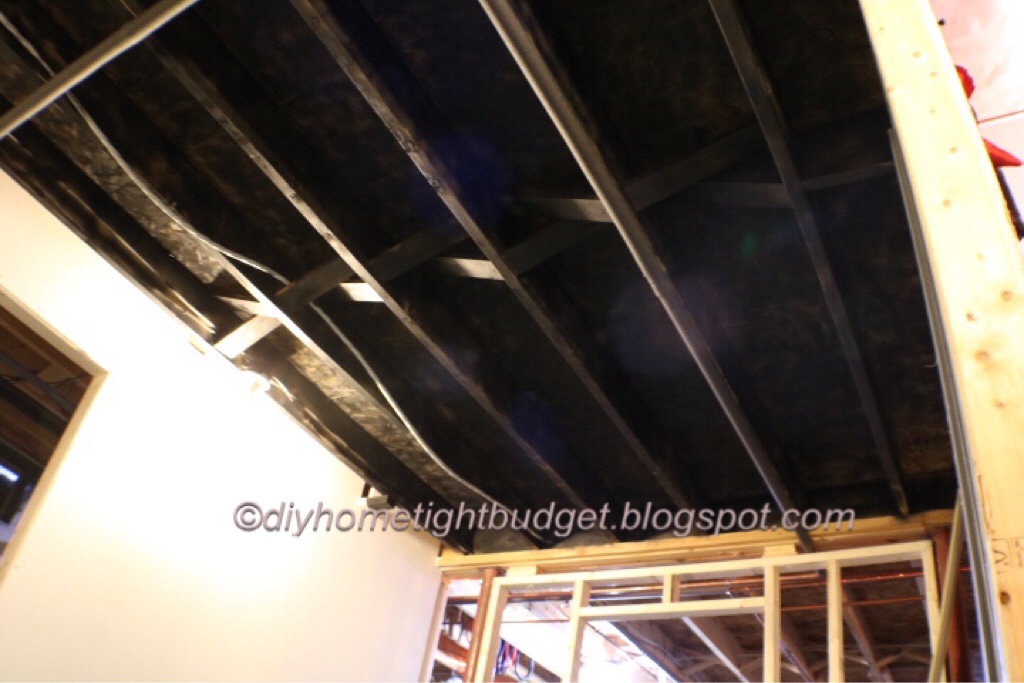
I searched Pinterest for ideas on finishing a basement ceiling at an economical price and I fell in love with the idea of painting the ceiling black for an industrial look. I experimented one evening. The following evening my husband helped me. We closed in the whole area with sheets and covered the floor as well to contain the particles that would be flying around as the can sprays out the paint.

We used spray cans that contain paint and primer.

This is how I protected myself the first evening while spray painting. I wish I had taken a picture of my husband and I the second evening after we finished. It was quite comical. We sprayed just before bed time so that we could be away from the smells that were released while spraying. Also, we opened windows in the basement and cracked the bulk head. By morning our basement was back to normal.

We purchased shiplap for two of the bonus room walls. It turns out that Lowe's is no longer going to sell shiplap so after we bought out all of the good ones at one Lowe's we went to a couple more Lowe's to get more and they were on sale for $5.98 each at one of the Lowe's. Since the boards were so cheap, we bought as much as we could and we will be using the rest at our camp for an accent wall in the bathroom and the headboard for our master bedroom.

We spaced our shiplap to give the wall some vertical lines using a nickel and a quarter. 

We framed our last wall in similar fashion as the other walls and left an opening for the glass block window that we ordered from Home Depot for $60. I felt that this space needed to have a window even though it is an interior space. The window will allow some light in during the day, while not overlooking the adjoining room.

I primed the shiplap and filled in all of the nail holes.

After three coats of joint compound and sanding, I primed the wall that we put sheetrock up on. We used spacers when we put the sheet rock up. Do not have the sheetrock rest on the floor just in case your floor gets a little damp.

The ceiling after one coat of spray paint. I bought a can of paint to brush on and touch up the spots that the spray did not cover evenly. Not yet done in this photo.

The glass block window from Home Depot.

The window shiplap wall completed.

We used adhesive to put in the glass block window plus the wings that came with the window.


A view of the room from the outside. Adding this wall has actually made our exercise space feel more like a room. Plus we were able to add some much needed outlets to this space. We will add insulation and sheet rock to finish the wall off.

I added black foam insulation to the copper pipes to make them blend into the ceiling and primed the shiplap.


A final coat of white paint was added to this wall. I decided to have all white walls except one accent wall with color to make this room feel bright and not dingy like basements usually are.

I also painted the floor gray. Before painting, I prepped the floor by washing it a few times. I often paint walls without washing them first, but a floor is quite a different situation.

We also hired an electrician to put four outlets and a light in the room. The electrician also moved the light that is on the circuit with all of the basement lights into the area where the electrical box is. We are lucky enough to have found a really good seasoned/retired electrician that only charges $25 an hour. I purchased the light in this photo at Lowe's.

The final results will be shown in the article... Building a Room in the Basement for Around $1K; Part 2

Monday, November 16, 2015

Sliding Barn Doors Rock!

My husband and I spent around $25 in lumber at Home Depot and $90 on the hardware through Amazon for this amazing sliding barn door. I considered creating my own sliding system using garage door pulleys and a variety of other items that I found while doing research on Pinterest, however when I found the hardware on Amazon I decided to pay the money because in the end it was not much more than buying miscellaneous parts, it was less work, and guaranteed to work. I am very pleased with my choice because as my neighbor Sam would say, "the door glides like butter".


Step 1: Purchase the hardware of your choice and lumber. For this door we used five tongue and groove 1x6x8 pine boards for $4.42 each and a 1x6x6 pine board for $6.75. We used 1 & 1/4" drywall screws to put it all together.


Step 2: We located studs and attached a stained scrap piece of pine board that we had left over from another project to the wall. We used self drilling construction screws.


Step 3: We attached the hardware for the door to the wall in order to get exact measurements for the door.


Step 4: Cut the tongue and groove boards the correct length. Run two of them through the table saw. One to remove the tongue and the other to remove the groove. Slide the T&G boards into one another using the tongue and grooves. One of the boards was a bit warped so my husband put a 2x4 up against the edge of one side of the door and a wall of the room that we were working in. Then I wedged myself up against the opposite wall and pushed on the door with my legs while my husband attached the 1x6 board with screws. You can see the 2x4 in the photo on the right. The door was laying flat on the floor.


Step 5: I stained the inside/back, upper, and lower part of the door and my husband attached the hardware. Then we put it up on the rail so that I could stain the rest of the door. I was going to do a distressed paint finish, however the knots were so beautiful that I couldn't bring myself to paint over them.