Wow!!! It has been four months since my last post. The last few months have been a whirlwind so it took me awhile to get to this post. I listed my house on Zillow in February for the heck of it. We planned on listing with a realtor in May, I figured why not see what happens. We were hoping to sell mid summer. Plans changed in a good way... We had a showing in March and those people decided to buy our home of 15 years. Needless to say, our then senior in High School daughter was not very pleased. We did it anyway and closed on the house mid May. What it meant was way less work that we had planned to do to that home before we listed with a broker. What that also meant was that we had to pack up and get rid of 15 years worth of stuff because the house that we bought and have been renovating for two years is a smaller home with very little storage. If it had gone according to plan we would have had our garage built at the lake house before we sold the other home. Plus we had to finish this bathroom that I am writing about today. It is the only full bath in our lake home and we were to soon have my son and his girlfriend back from college for the summer. This meant five people for 1 and 1/2 baths when we were used to 2 full and two half baths. That has been a HUGE downsize and somewhat of a challenge. Anyhoot... I am in love with how the bathroom came out even though it took a lot longer to finish than we thought.
I hope to share with you some of our challenges and inspire some creativity as well.
 |
| Remaking the closet was fairly easy. We removed the plywood shelves, painted pine boards left over from other projects, painted the walls, and inserted the boards. |
 |
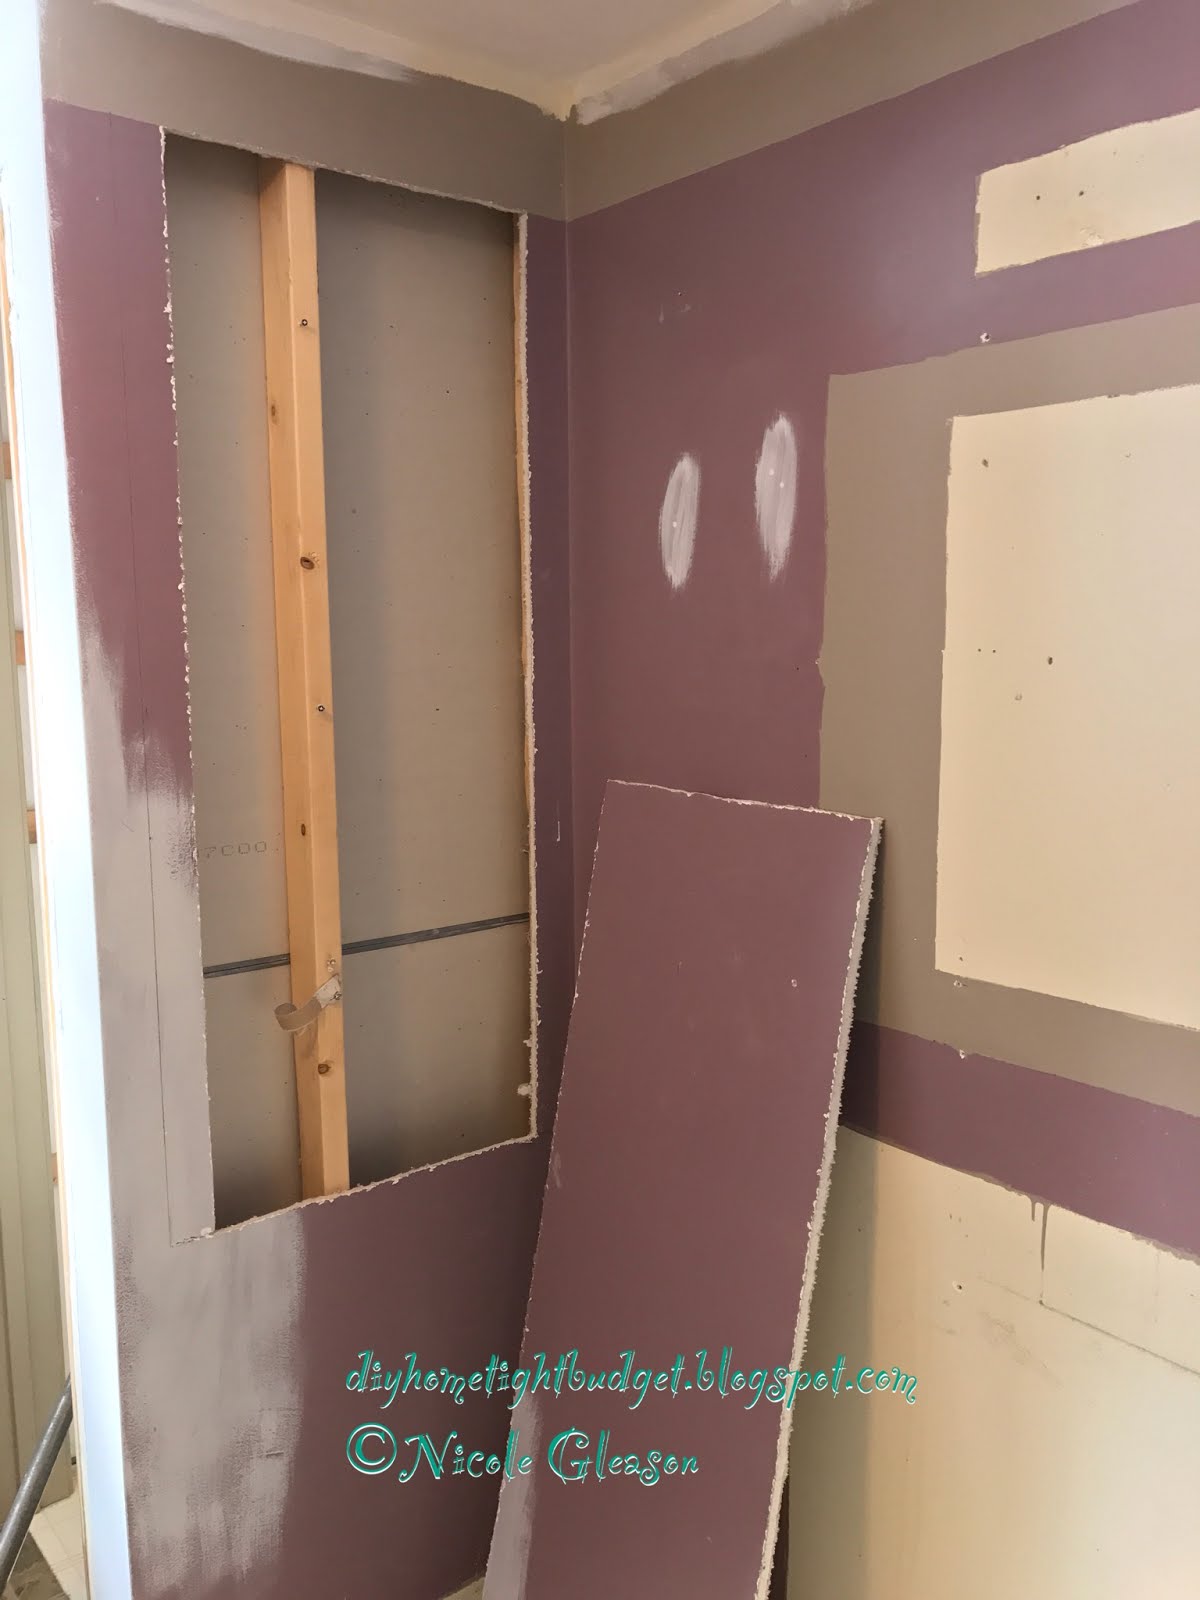
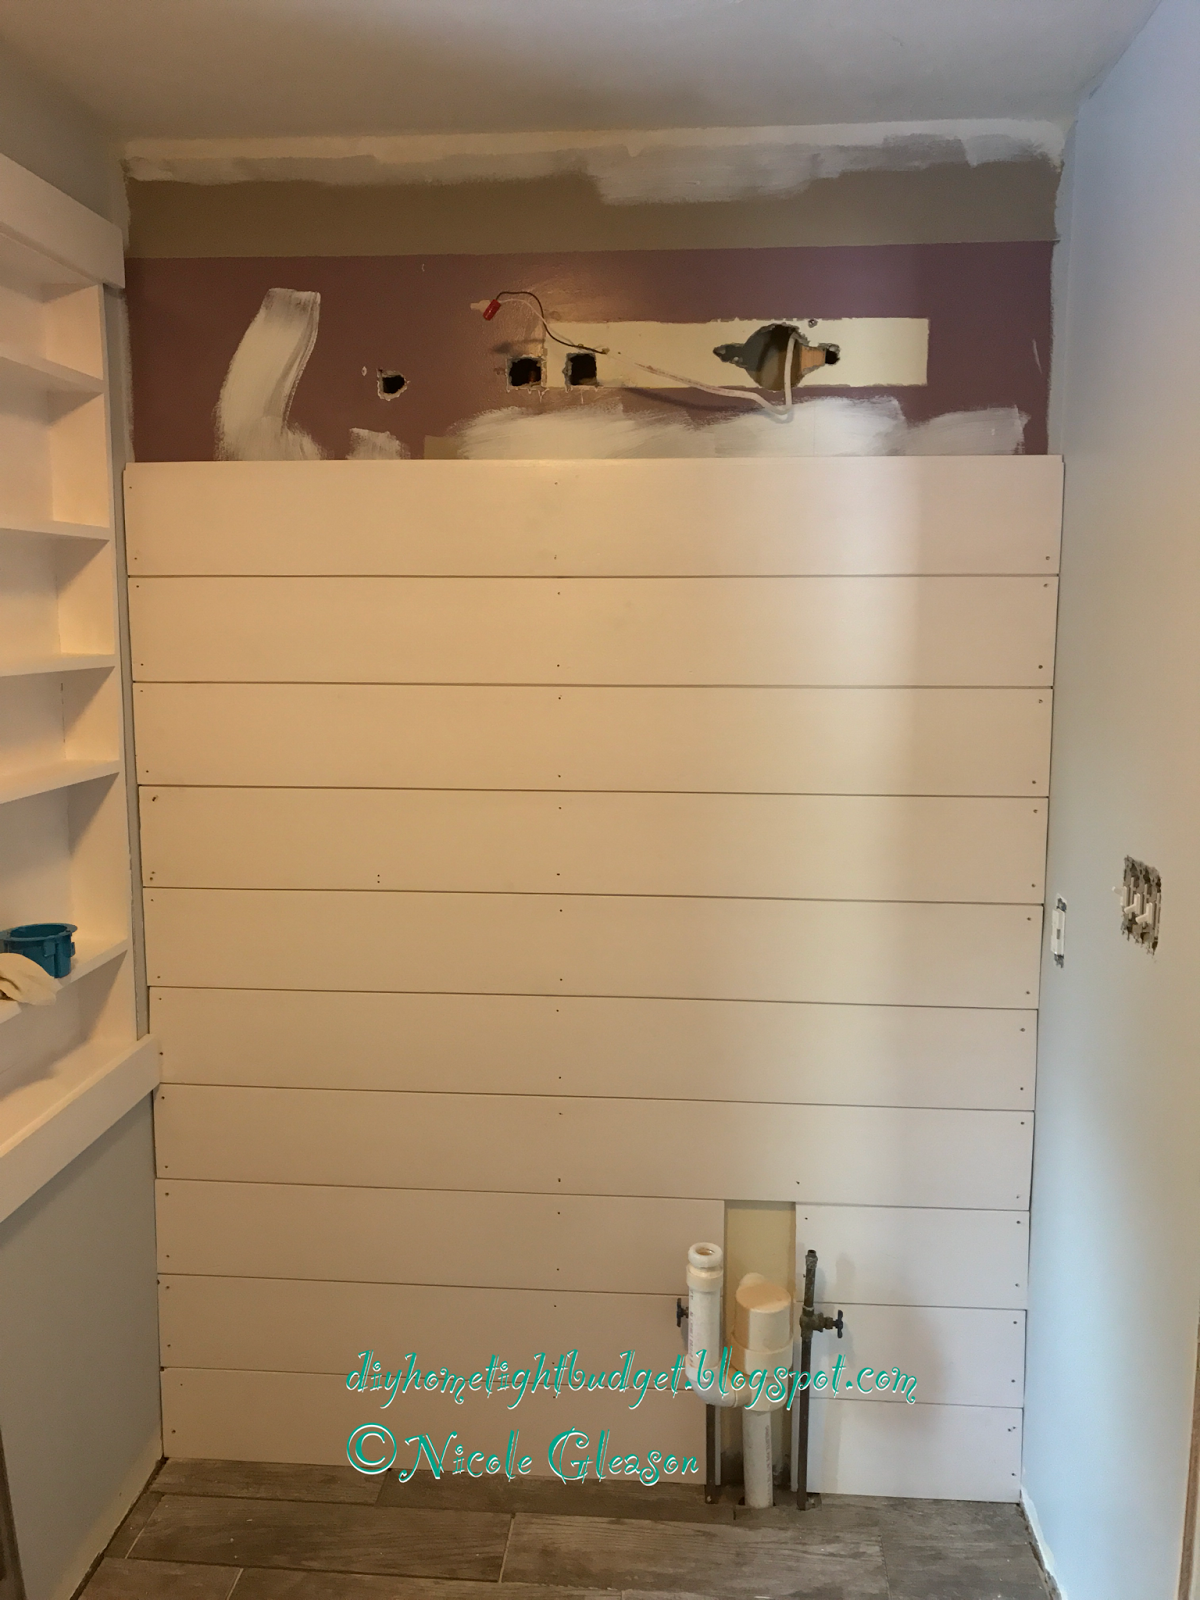
| The half wall was a challenge. When we first built it, we realized it was too wobbly and therefore once tiled the tiles would eventually crack and break. The wall really needed support from floor to ceiling. We then purchased a cedar post and attached it to the half wall. It made for a nice look so we added to the design and did not cover up the post. |
 |
| We used pine boards to cover the framing of the wall. I left the pine boards natural and coated them with three layers of poly. |
 |
| I added hooks to hang towels and wash cloths on. My original plan was to hang two towel racks, but unfortunately it interfered with the door opening up fully. |
 |
| The cedar post inspired us to add cedar to the ceiling. We used tongue and groove cedar. |
 |
| We cut all of the floor tiles for the shower ahead of time and placed them systematically on the floor so that we would be able to put them back in the correct place when laying over mortar. |
 |
| Shower floor tile success. I absolutely love the basket weave! |
 |
| Another love in the bathroom is the tiles that are the backdrop of the niches. They sparkle and help the rustic bathroom display a bit of bling. |
 |
| After the floor was finished, we were able to tile the walls. First we covered the floor with cardboard. Then we tiled all of the walls. This step took much longer than we anticipated, but it was well worth it. |
 |
| Time to grout. We went with a dark grout because I liked the look, but I also thought it would be easier to keep dark grout looking nice. We used a light grout for our very first tiling project and it is looking dingy after two years. |
 |
| I also feel like the dark grout leaves less of a film on the tiles because you can see better what to wipe away. |
 |
| This shower brings a smile to my face every time that I use it! |
 |
| We also added a barn door to close off the toilet for added privacy in a bathroom that sees a high volume of visitors. |
There are two more things that I want to do before the bathroom is really finished. We plan to make and add a door to the closet plus I want to frame out the mirrors with pallet wood. I will write a short post for both of those projects once they are completed. Right now those projects are on hold because I have been recruited to help build our garage for the next few weeks and then once the outside is done, my husband and I will be insulating, sheet rocking, and finishing the garage/workshop/game/guest rooms of this 32x26 two story building. In the end we didn't really downsize, except bathrooms. We made this move to live on the lake and here is why... (just took this pic tonight)
 Wow!!! It has been four months since my last post. The last few months have been a whirlwind so it took me awhile to get to this post. I listed my house on Zillow in February for the heck of it. We planned on listing with a realtor in May, I figured why not see what happens. We were hoping to sell mid summer. Plans changed in a good way... We had a showing in March and those people decided to buy our home of 15 years. Needless to say, our then senior in High School daughter was not very pleased. We did it anyway and closed on the house mid May. What it meant was way less work that we had planned to do to that home before we listed with a broker. What that also meant was that we had to pack up and get rid of 15 years worth of stuff because the house that we bought and have been renovating for two years is a smaller home with very little storage. If it had gone according to plan we would have had our garage built at the lake house before we sold the other home. Plus we had to finish this bathroom that I am writing about today. It is the only full bath in our lake home and we were to soon have my son and his girlfriend back from college for the summer. This meant five people for 1 and 1/2 baths when we were used to 2 full and two half baths. That has been a HUGE downsize and somewhat of a challenge. Anyhoot... I am in love with how the bathroom came out even though it took a lot longer to finish than we thought.